
Start by purging the wand for a clean hiss, then tilt your pitcher 15‑30° and submerge the tip just below the surface at a 2‑o’clock angle, listening for a gentle “chirp” that signals proper air injection. Introduce air for 2‑5 seconds until the milk swells 30‑40 % with fine bubbles, then lower the wand deeper to create a tight vortex and heat the milk to 140‑150 °F. Tap the pitcher, swirl to burst large bubbles, and you’ll have glossy, velvety micro‑foam ready for latte art and more advanced techniques.
How to Steam Milk for Latte Art – The Quick Overview
Ever wondered why a flawless latte starts with the right steam? You purge the wand, wipe it clean, then pour cold milk to a pitcher, leaving one‑third space. Slip the tip just below the surface, off‑center at the 2‑o’clock angle, and let a gentle hiss introduce air for 2–5 seconds. You’ll feel the volume swell 30‑40 % as fine bubbles form; stop aeration before large bubbles appear. Raise the pitcher so the tip submerges 1–2 cm, maintaining a smooth vortex that breaks bubbles into micro‑foam. Heat until the pitcher is too hot to hold—around 140‑150 °F—watching milk temperature climb without exceeding 160 °F. Tap, swirl, and polish the glossy foam, achieving optimal foam density for latte art. Use Barista‑grade plant milk for better frothing consistency. Selecting a bar‑strength almond milk can significantly improve foam stability. For the best texture, aim for a milk temperature of 60–65 °C before stopping the frothing process. Understanding the air‑injection mechanism helps you control foam texture more precisely.

【Food Grade Material】This milk frothing pitcher is made of high-quality 304 stainless steel, which is rust proof, stain proof, and heat resistant. It has a stylish appearance and is very easy to clean after use.

304 STAINLESS STEEL: Amrules 12oz creamer pitcher are crafted of 18/8 food grade stainless steel. The pitcher features external mirror finish and internal hairline finish. It is sturdy, durability, rust-resistant and resistant to deformation

Perfect Combination Of Milk Frothing Pitcher And Latte Art Pen: The milk frother jug can be used in different ways: froth or steam milk for lattes; measure liquids; serve milk or cream. Featured with a latte art pen which can shape kinds of beautiful coffee pattern. Perfect for making frothing or steaming milk for espresso, cappuccino or hot chocolate. Be your own barista in home and office.
Choose the Right Milk and Pitcher for Perfect Latte Foam
After you’ve mastered the steam wand technique, the next step is picking the milk and pitcher that will let that technique shine. Choose whole dairy milk for its 3.5 % fat and 3.3 % protein balance; it yields a dense, glossy microfoam that stays stable up to a milk temperature of about 65 °C (150 °F). If you prefer a plant‑based option, select a barista‑grade soy or oat milk formulated for steaming, keeping the temperature around 55–60 °C to avoid splitting. Pair the milk with a stainless‑steel pitcher sized for the drink—typically 12 oz for a single latte—so the liquid has room to expand during aeration. A narrow spout and balanced handle give you precise control over texture and pour, essential for crisp latte art. For optimal foam consistency, pre‑chill the frother before use. You can also achieve similar results by shaking heated milk in a tightly sealed jar for a quick, equipment‑free foam. Using a French press can produce a velvety foam with minimal effort.

【Premium Food-Grade 304 Stainless Steel】Milk frother cup is made of premium food-grade 304 stainless steel, this non-toxic, odorless coffee pitcher ensures safe daily food contact. It delivers outstanding rustproof, stain-resistant and heat-resistant performance for durable use. Adopting seamless welding technology, the integrated body and handle feature solid structure.

Measure Capacity for Your Routine: This milk frothing pitcher has internal oz/ml marks; choose 12 oz for single drinks, 20 oz for larger lattes, 32 oz and 50 oz for multiple servings
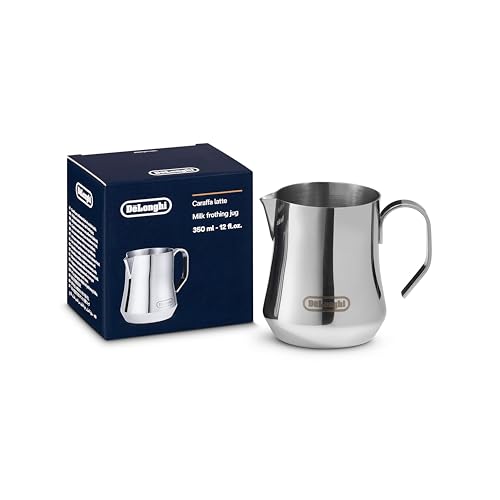
Stainless Steel Milk Frothing Jug
Purge and Position the Steam Wand Before You Start
Before you even touch the milk, purge the steam wand for a solid one‑to‑two seconds until you hear a clean hiss, clearing any condensate that could dilute the foam. Feel the pressure stabilize as residual water exits, ensuring steam wand hygiene and consistent pressure. Next, grab the pitcher and execute pitcher tilt calibration: tilt it 15‑30 degrees, not upright, so the wand tip hovers just below the milk surface. This angle creates a tight vortex, promoting even circulation and micro‑foam formation. Keep the tip shallow—no deeper than a finger’s width—so the steam bursts into a fine hiss rather than a splash. Align the wand and pitcher before opening the valve fully; the setup now guarantees steady, controlled frothing. Understanding the micro‑foam differences helps you choose the right tool for cappuccinos versus lattes. Using whole dairy milk can improve foam richness due to its higher fat content. Regularly descaling the espresso machine, as described in the Sparkling Espresso guide, prevents mineral buildup that could affect steam temperature.

【Food Grade Material】This milk frothing pitcher is made of high-quality 304 stainless steel, which is rust proof, stain proof, and heat resistant. It has a stylish appearance and is very easy to clean after use.

【Multi-Use Steam Brush for Espresso Machines】Specifically designed for espresso steam wands and group heads, this steam cleaning brush effectively removes coffee residue, milk stains, and buildup from various coffee machines

Steam Brewing: Powerful steam-brewing process brews dark, rich espresso, great for making Cuban coffee
Introduce Air – Listen for the “Chirping” Sound
If you keep the wand tip just beneath the milk surface, you’ll hear a light, high‑pitched “chirp” that sounds like paper tearing or a soft kiss; this brief, intermittent hiss signals that air is entering the milk correctly. The chirping technique serves as your primary feedback: a steady, gentle chirp means the tip is barely breaking the surface, while a sudden stop indicates you’ve dipped too deep, and a loud sputter shows you’re too high. Begin aeration for the first few seconds, then lower the wand as the chirp fades. Match this sound cue with temperature timing—stop adding air before the milk reaches 60–65 °C (140–149 °F). Properly restrained chirping yields fine microfoam, preventing large bubbles and a dry froth. Correct positioning of the wand is essential to maintain a consistent vortex and avoid over‑aeration. Using a stainless‑steel pitcher helps preserve milk temperature for a smoother foam.

TOP QUALITY - The frother pitcher is made of #304 stainless steel with non-stick teflon coating, ust-proof, stain-proof and crash-proof, unbreakable for daily use. Dishwasher-safe & easy to clean with soapy water.

304 STAINLESS STEEL: Amrules 20oz creamer pitcher are crafted of 18/8 food grade stainless steel. The pitcher features external mirror finish and internal hairline finish. It is sturdy, durability, rust-resistant and resistant to deformation
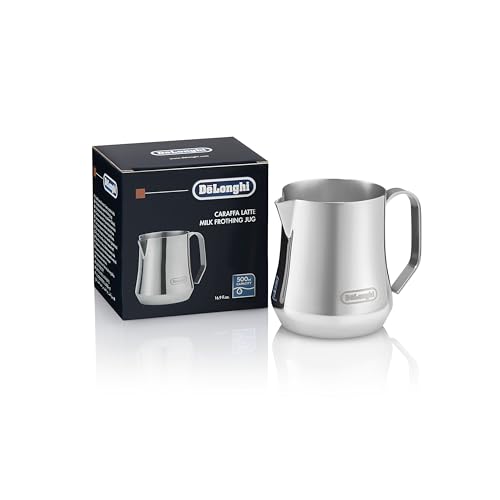
Ergonomic handle allows for a double grip on the handle or jug for improved safety.
Create a Vortex and Texture the Milk to a Glossy Microfoam
Position the wand just beneath the milk surface and tilt the pitcher about 20°, letting the tip skim the side so a gentle whirlpool forms. You keep the wand shallow, angled toward the jug’s center‑bottom, and adjust depth until the spin smooths out, achieving vortex stability. The pitcher’s 15–30° tilt guides milk around the wand, creating a consistent, silent whirl that feels like a silk‑smooth current. Once the milk expands, lower the wand deeper to increase turbulence; this mixes the nascent foam into the liquid, reducing air input. Continue texturing until the surface turns a glossy, paint‑like sheen, indicating fine‑bubble integration and foam glossiness. Stop steaming at 55–65 °C, preserving sweetness and the silky microfoam texture. Use whole milk for the best silky texture. The higher protein content in oat milk helps stabilize micro‑foam structure for a longer‑lasting froth.

Perfect Combination Of Milk Jugs And Latte Art Pen: The milk pitcher can be used in different ways: froth or steam milk for lattes; measure liquids; serve milk or cream, syrups, or sauces and dressings on the side. It's also a good choice for weighing coffee bean. Featured with a latte art pen you can shape kinds of beautiful coffee pattern. Perfect size for smaller cappuccinos, macchiatos and cortados.

Heavy-duty 304 Stainless Steel: Our silver steaming pitcher is made of food-grade 304 steel-rust-proof, heat-resistant, and incredibly easy to clean; No scrubbing caked-on milk; Built for daily use and fully dishwasher safe for zero-hassle cleanup

FULL CONTROL AND PRECISION - The Normcore handleless frother pitcher has a unique handleless design to improve control and precision when pouring and has been upgraded and redesigned to give you the best pouring experience.
Tap, Swirl, and Fix Foam Problems Before Pouring
Tap the pitcher gently on the counter right after steaming to burst the large bubbles that cling to the surface; the crisp thud releases trapped air and prevents those bubbles from surfacing in your pour. Your tap technique should be firm, repeated until the surface smooths, and timed before the milk settles. Immediately follow with the swirl method: rotate the pitcher in a tight, whirlpool motion, drawing the foam back into the liquid to restore a glossy, uniform texture. Watch for any remaining bubbles, chunks, or a dry foam layer; these visual defects signal over‑aeration. If the swirl can’t re‑integrate the foam, transfer the milk to a second pitcher or use a spoon to lift stubborn bubbles. Once the microfoam looks like wet paint, you’re ready to pour. The percolator’s higher caffeine extraction can make milk foam behave differently, so consider adjusting your technique when using coffee brewed with a percolator.